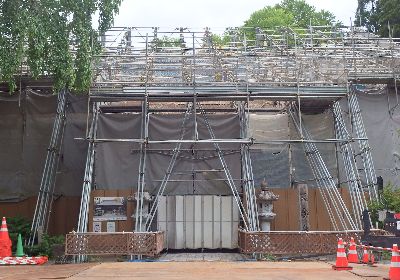
工事の安全確保や部材保護のために本堂を丸ごと覆っていた素屋根の、解体が始まりました。
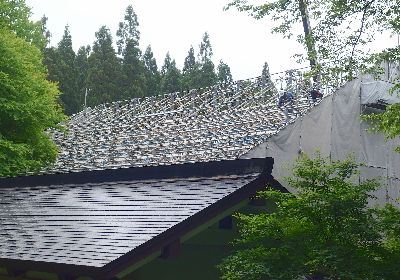
とはいえ、囲いの全てを取り外すわけではありませんし、工事終了までは近付くことはできませんが、7月頃には本堂の屋根部分がチラリと見えるようになると思います。
![](https://tendaiji.or.jp/cms-wp/wp-content/uploads/2023/07/shinchoku10_01.jpg)
![](https://tendaiji.or.jp/cms-wp/wp-content/uploads/2023/07/shinchoku10_02.jpg)
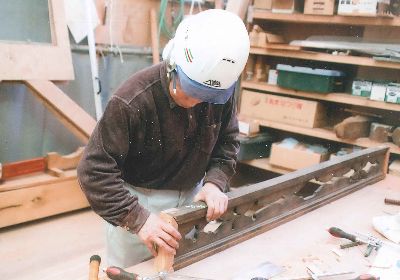
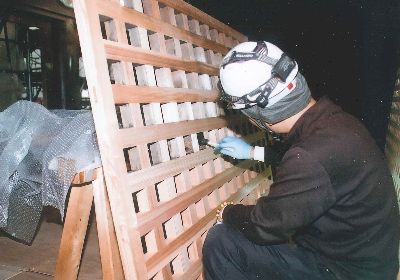
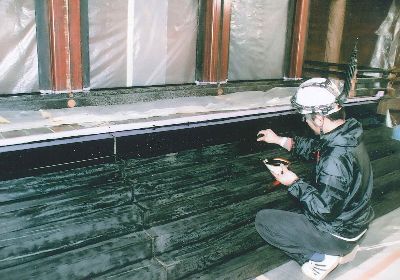
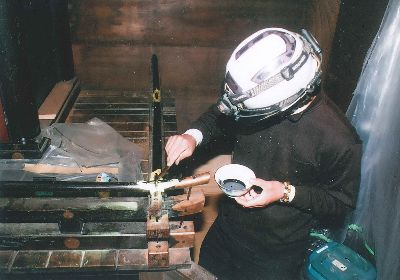
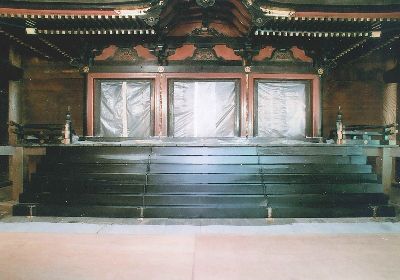
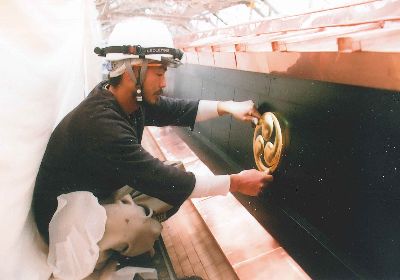
本堂内部では建具の修理や装飾の塗り直し等が行われています。
![](https://tendaiji.or.jp/cms-wp/wp-content/uploads/2023/07/shinchoku10_03.jpg)
![](https://tendaiji.or.jp/cms-wp/wp-content/uploads/2023/07/shinchoku10_04.jpg)
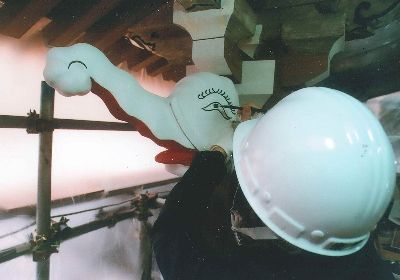
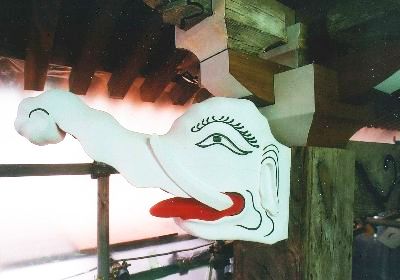
昨年9月に紹介した象鼻(ぞうばな。本堂正面階段上部の装飾)は発色鮮やかに蘇りました。
![](https://tendaiji.or.jp/cms-wp/wp-content/uploads/2023/07/shinchoku10_05.jpg)
![](https://tendaiji.or.jp/cms-wp/wp-content/uploads/2023/07/shinchoku10_06.jpg)
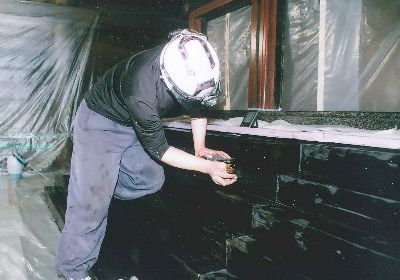
厨子(ずし。昔はこの中に本尊の聖観音菩薩像を安置していました)の階段部分は傷んでいたので、この範囲だけ漆を塗り直しました。
![](https://tendaiji.or.jp/cms-wp/wp-content/uploads/2023/07/shinchoku10_07.jpg)
![](https://tendaiji.or.jp/cms-wp/wp-content/uploads/2023/07/shinchoku10_09.jpg)
![](https://tendaiji.or.jp/cms-wp/wp-content/uploads/2023/07/shinchoku10_10.jpg)
![](https://tendaiji.or.jp/cms-wp/wp-content/uploads/2023/07/shinchoku10_08.jpg)
また、棟の形と屋根飾りは、古い写真を参考に今回作り直しました。
![](https://tendaiji.or.jp/cms-wp/wp-content/uploads/2023/07/shinchoku10_11.jpg)
![](https://tendaiji.or.jp/cms-wp/wp-content/uploads/2023/07/shinchoku10_12.jpg)
(写真提供:公益財団法人 文化財建造物保存技術協会)協会)