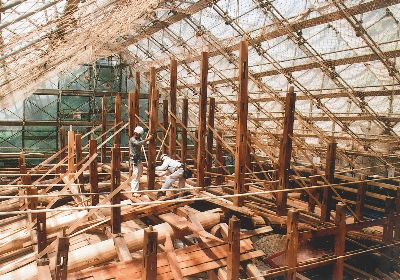
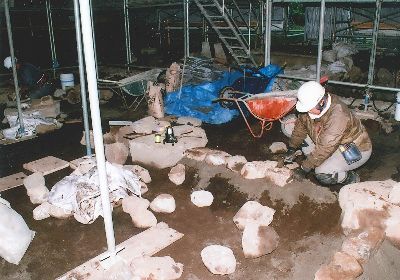
平成29年11月現在、本堂は小屋組(こやぐみ。柱より上の部分)の組み立てや床板の取り付けが進められています。仁王門では一部礎石の据え直しを行いました。
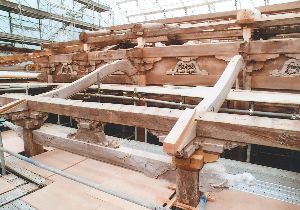
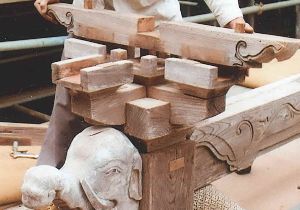
本堂正面の出入り口上部の組み立て過程
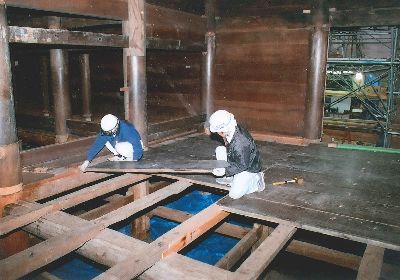
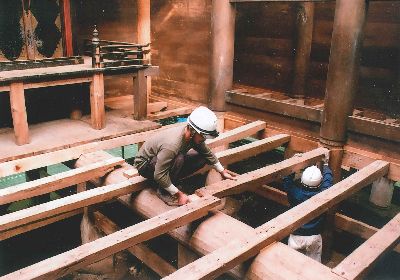
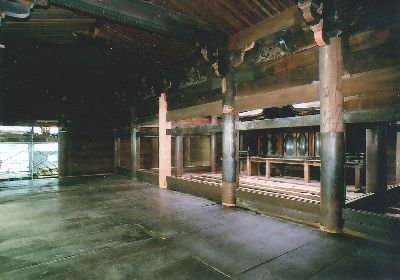
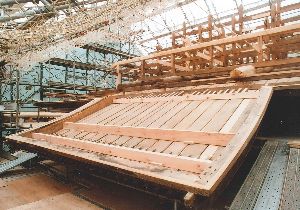
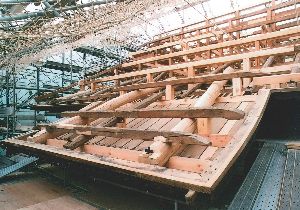
本堂の床の取り付け状況。
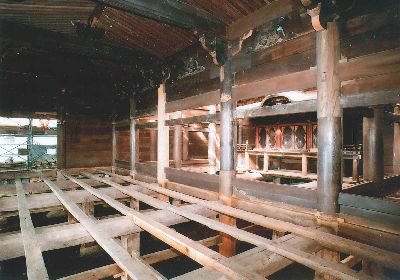
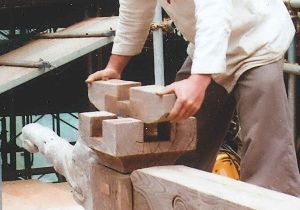
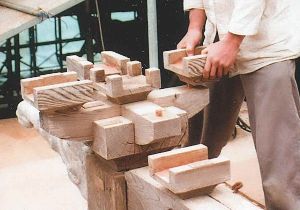
下の写真は本堂出入り口の柱の上にある組物(くみもの)と呼ばれる部分と、本堂側面にある大瓶束(たいへいづか)と呼ばれる部分の組み立て過程です。複数の部材を組み合わせて作られています。

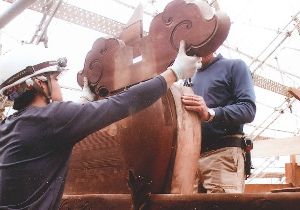
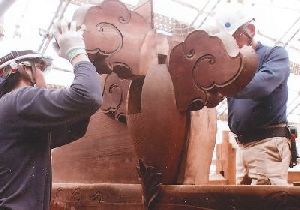
(写真提供:公益財団法人 文化財建造物保存技術協会)協会)
平成29年11月現在、本堂は小屋組(こやぐみ。柱より上の部分)の組み立てや床板の取り付けが進められています。仁王門では一部礎石の据え直しを行いました。
本堂正面の出入り口上部の組み立て過程
本堂の床の取り付け状況。
下の写真は本堂出入り口の柱の上にある組物(くみもの)と呼ばれる部分と、本堂側面にある大瓶束(たいへいづか)と呼ばれる部分の組み立て過程です。複数の部材を組み合わせて作られています。
(写真提供:公益財団法人 文化財建造物保存技術協会)協会)