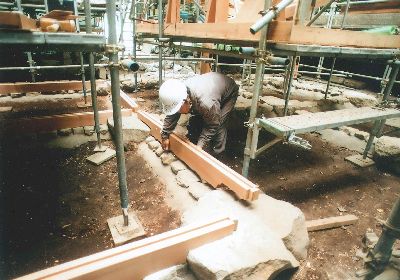
修理のため、建物が全部解体されていた仁王門。
基礎となる石が据え直され、古い材と新材も用いながら再び建物を組み立てていく作業が行われています。
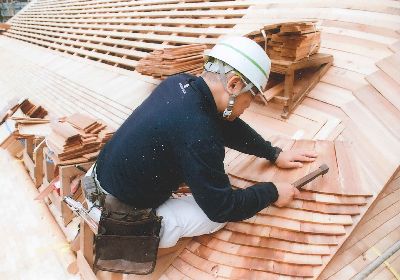
本堂の屋根は、ここまで葺かれました。

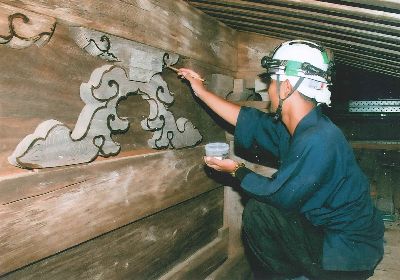
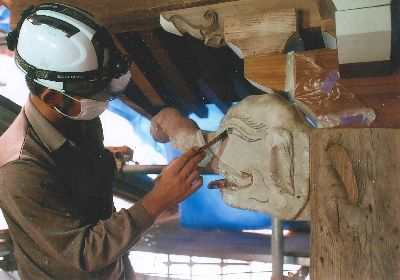
建物の装飾部分の彩色も始まりました。
長い年月により色あせてしまっていた装飾が、どのような姿で蘇るか楽しみです。
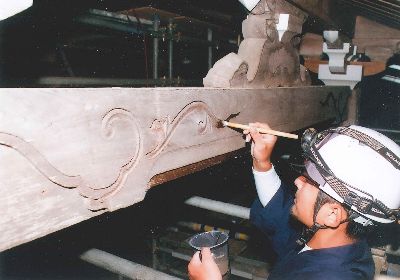
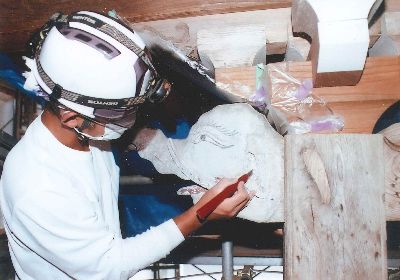
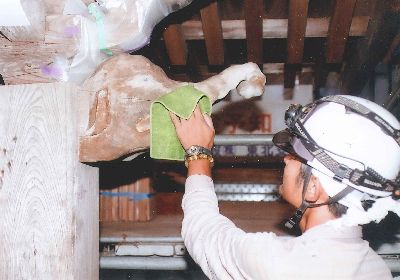
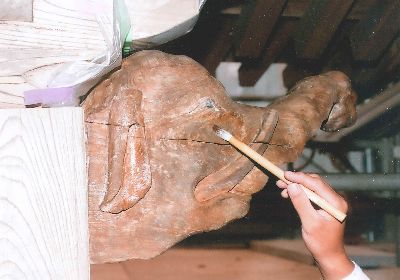
象鼻(ぞうばな。本堂正面階段上部の装飾)の塗装は今回塗り直しを行います。
まずは古い塗装を落とし、汚れをふき取り、細かな凹凸のある木材の表面に発色よく塗料を塗るための下地処理を施します。
女性のメイク落とし、洗顔、化粧水や乳液の使用と同じようなものと考えると、工程を理解しやすいかもしれません。
(写真提供:公益財団法人 文化財建造物保存技術協会)協会)