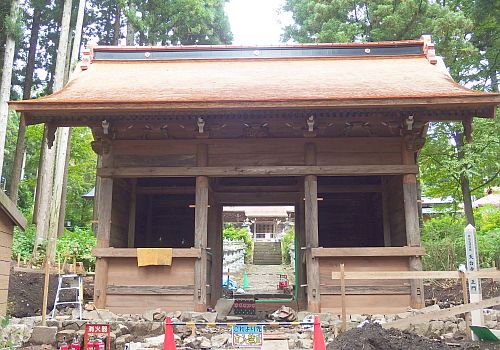
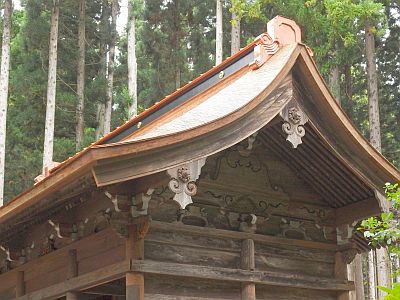
本堂に続いて仁王門も素屋根が解体され、外観が見られるようになりました。
本堂の屋根は厚さ1㎝程の杉板を重ねた「とち葺(ぶき)」ですが、仁王門はそれより薄い、3mm程の杉板を重ねた「こけら葺」です。
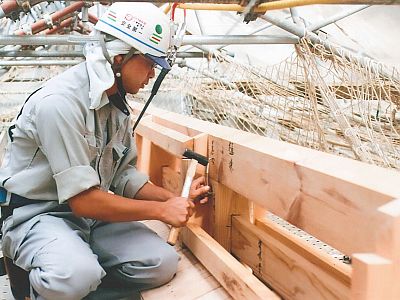
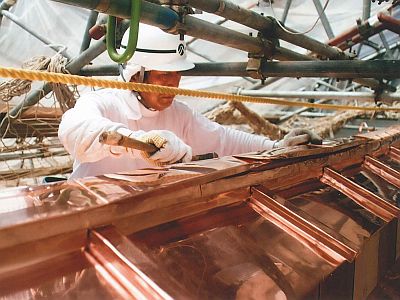
屋根の上に載る、箱棟(はこむね)と呼ばれる部分。
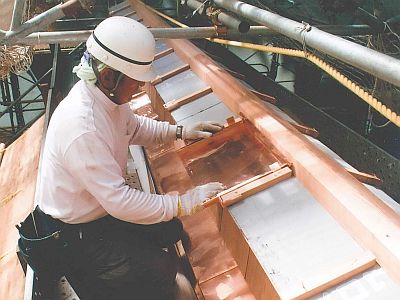
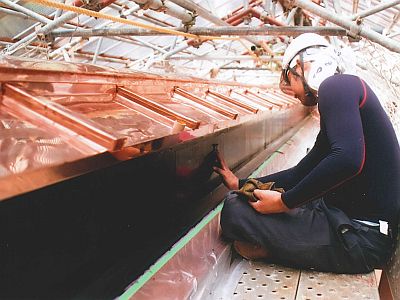
木材で組み立て、銅板で覆い、着色し……大工さんだけではなく、板金職人さんや彩色職人さんなど、それぞれの専門家が技を尽くします。
本堂、仁王門、ともにほぼ完成状態となり、現在は防災設備の設置や境内の各種整備を行っています。
いよいよ工事も大詰めです。
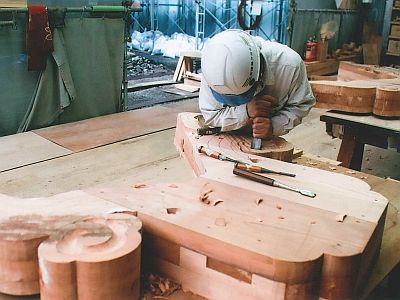

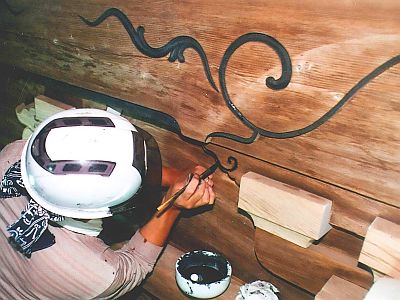
屋根飾りの製作と取り付け。
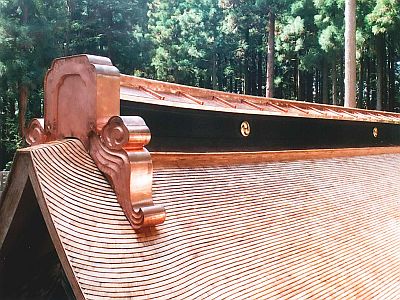
出来上がった姿。
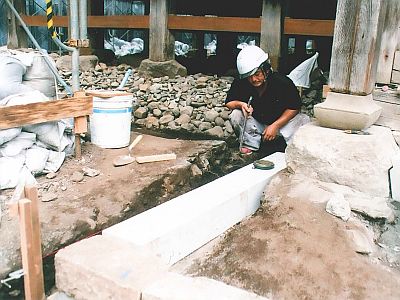
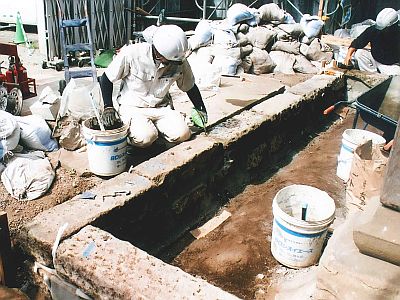
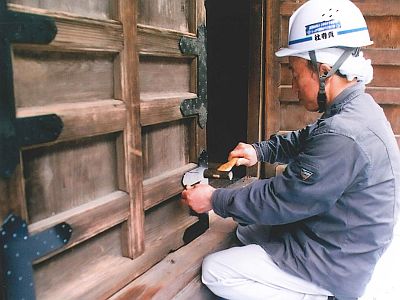
本堂では縁廻りのコンクリート工事、建具の補修や取り付け、組物や蟇股(かえるまた)と呼ばれる部分の彩色などが行われています。
(写真提供:公益財団法人 文化財建造物保存技術協会)協会)